
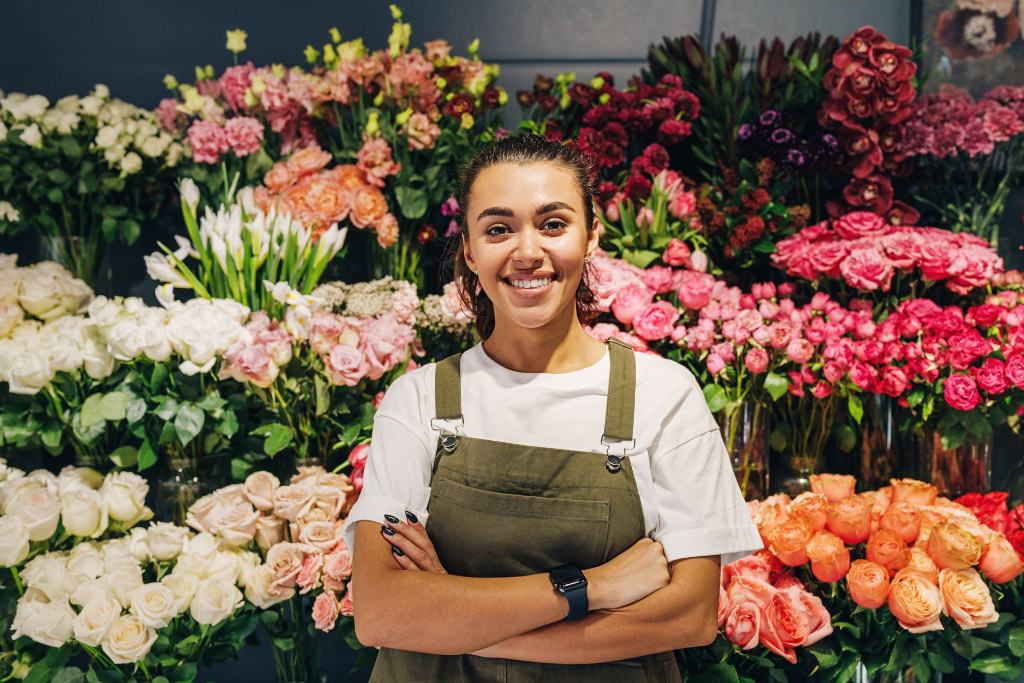
You’re in the midst of designing a gorgeous wedding bouquet and you think “This is beautiful; I would love to take a photo of this design and put it on my flower website so other brides can see my work.” If your next thought is ”no, that’s too hard to do.” then read on. Getting nice wedding flower photos are as easy as one, two, three!
ONE – The Prep Work For Flower Photos
Have a designated place to take photos always available. If you have to stop everything and move items around to take the photo of your flowers, you won’t. And don’t even think about holding the bouquet at arm’s length and photographing it, it won’t work!
Keep this area clean and ready to use in a moment’s notice. The designated area should be draped in a lightly colored background cloth. Dove grey is an excellent choice. One reason to use dove grey is that flowers aren’t found in this color so each flower will be seen distinctly and not fade into the background color. This color also makes it easy to cut out the background in a photo editing program. If dove grey isn’t available, white fabric or even white poster board will work. Remember to keep the cloth clean and pressed. You will be amazed at how the camera will pick up on even the littlest wrinkle. Another easy idea is to use white paper or even table runners as the background. The main idea is to have an uncluttered background so your flower bouquets are the spotlight. You can event construct a light box to use for your flower photos. It can be as simple as a white project board (think science project) put together as a contained box. Search for easy light box instructions on the computer.
Invest in a tripod. You can take the photos without a tripod but often your hands aren’t as steady as you think and the pictures turn out blurry. Experiment and see.
Add lights. Natural sunlight from the back is often a good option when available. If not, purchasing a few additional inexpensive clamp-on lights for use above and on the sides of the design will eliminate shadows and dark holes. It is best to use daylight balanced compact fluorescent bulbs to keep the flower colors true. Remember to turn-off your automatic flash on your camera, it will be too bright and will wash out the colors at that close of range. You need to try a few shoots to see what works best.
Need a camera. Before investing in a new camera, check your camera on your Android or IPhone or even your tablet or IPad. These cameras are often excellent for taking shots of your designs. Even an inexpensive “point and shoot” camera will work fine for florist website pictures.
TWO – The Flower Design
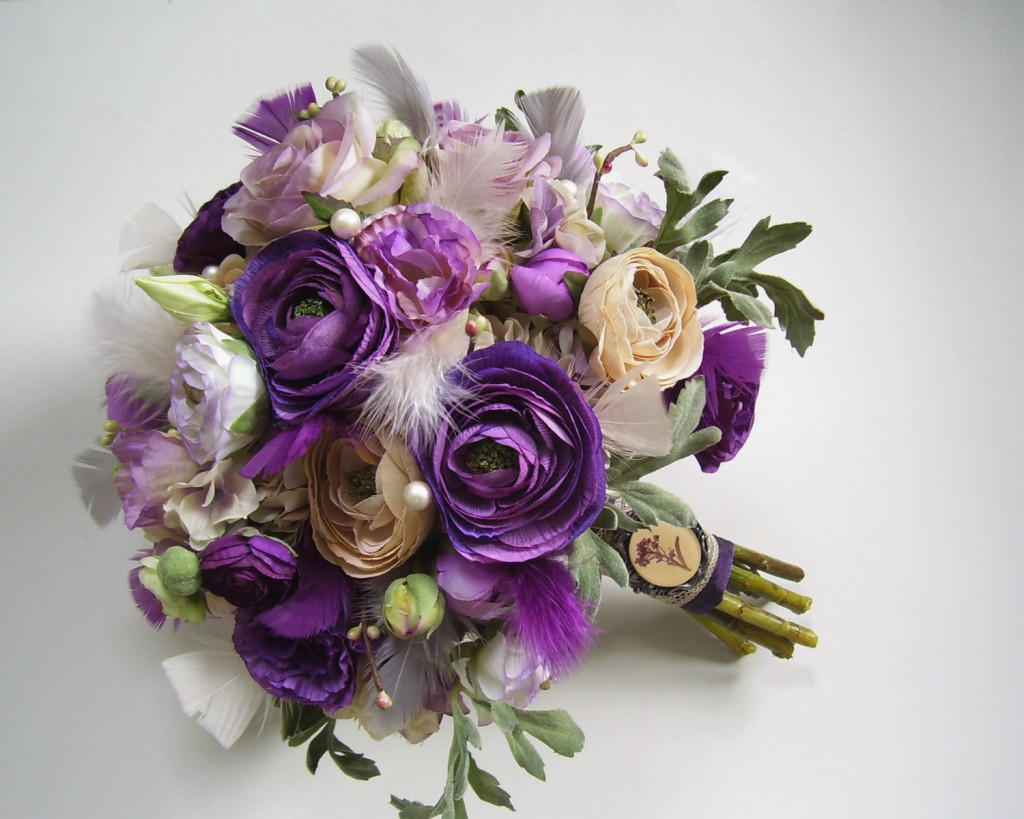
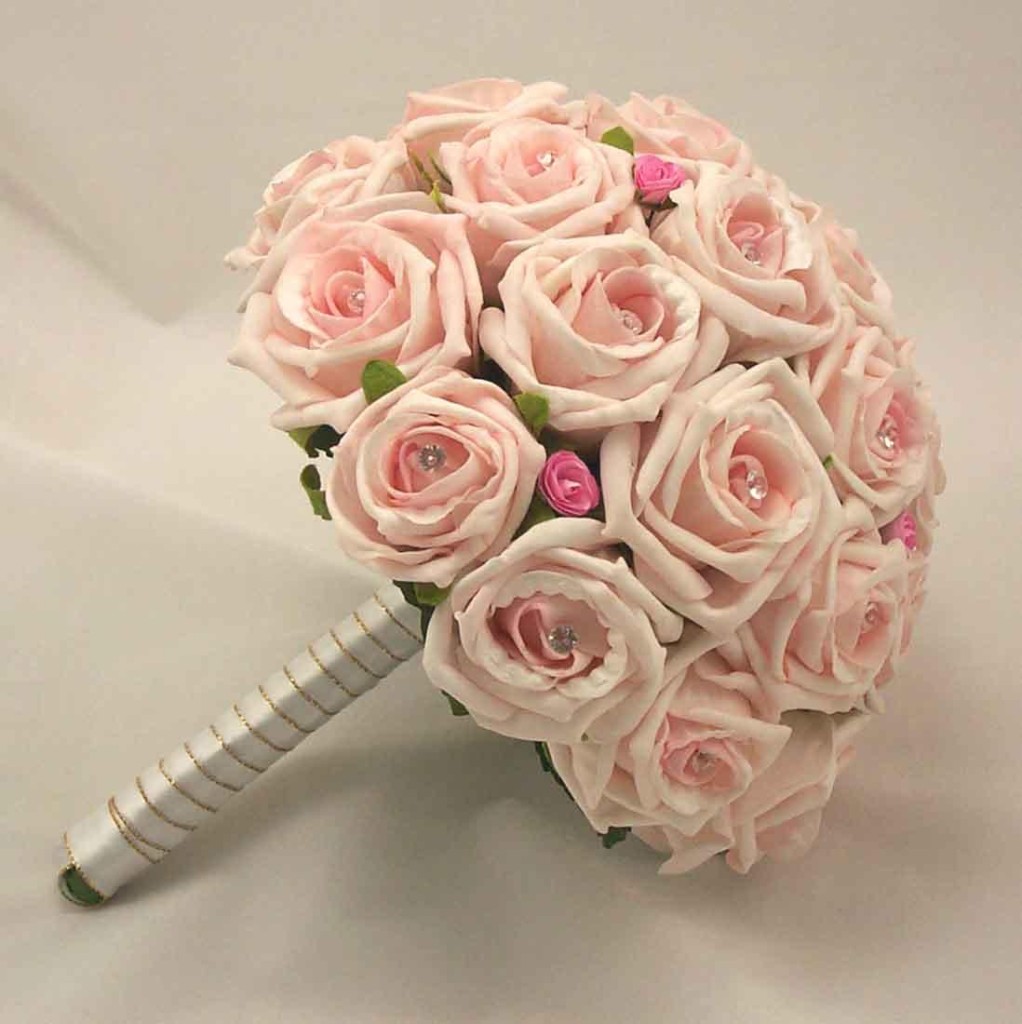
Make certain the flower design will look as good in photos as in person. Often time the design looks beautiful in person but just not the same in photos for your florist website. When taking the flower photos, remember to position the camera to take the most important part of the design, the flowers. This might mean angling the design or moving the camera around to get the right shot.
Too light or dark colored flowers can be lost in the design. Dark flowers can end up looking like dark holes and white or light flowers can all be lumped into one white glowing blob. Move the lights around to help alleviate this problem.
Take a photo that is true to the design. If the design is an all-around flower arrangement, don’t move all the flowers to one side to make it look larger than it is.
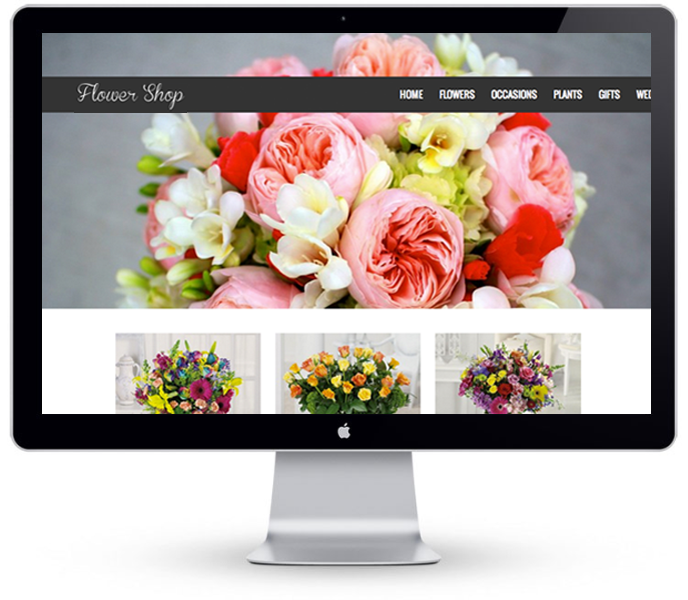
THREE – The Results for Your Florist Website
Put the best on your florist website. Your florist website is the first place consumers go to see what type of flowers you design. Do not put up anything that you are not proud of!
Your website photos should be easy to change and changed often for best results. Picasa, a free photo editing program from Google offers a large selection of editing tools including cropping, adding text and adjusting lighting and background.
It’s wedding season and you don’t want to miss out on taking photos of your best flower work. These photos are a great tool for use on your florist website and social media! So get shooting and show everyone what you can design!
____________

Floranext makes great florist software. Florist websites, floral POS, florist wedding/event proposal software, and florist technology. Let us know if you want a free demo or try our software for free here!
Having a dedicated spot to shoot your flowers in is a must. To have the area ready for a great design, is so important, because you probably have to send the flowers out the door in the next 30 seconds. Great advice.
Thank you! I’m just starting out so help like this is marvellous. 🙂 xx
im flower arrangger, thanks for this briliant tips how to take flowers picture..
Great post! I love using my iphone for floral photos because it compensates for when my hands are shaky, and I can use a variety of subtle filters on apps that can help show off particular colors and shapes of each arrangement. I second Bob’s comment above! Because of my dedicated photo space (an aged, natural gray wood wall) I’ve made many a last minute arrangement, and been able to capture their beauty in seconds before they fly out the door!
Thank you for the great tips!