

With over 1 billion daily users worldwide, it is of great importance, that all floral business owners have a Facebook business page.
Facebook allows you to create an abundant of visibility for your floral brand, drives traffic to your website, raises your SEO (Search Engine Optimization), allows for customer interaction and many other valuable reasons.
We hear time and time again how difficult Facebook can be to understand and navigate. One of the most asked questions is “How do I create a Facebook business page?” In this blog, let’s break down step by step on how to create a Facebook business page.

Step 1 – Do you have a personal Facebook account?
- You will need a personal Facebook account in order to set up a Facebook business page.
- If you do not have a personal Facebook account, go ahead and sign up for Facebook.
- Once a personal Facebook account is created or if you already have one, go ahead to step 2.
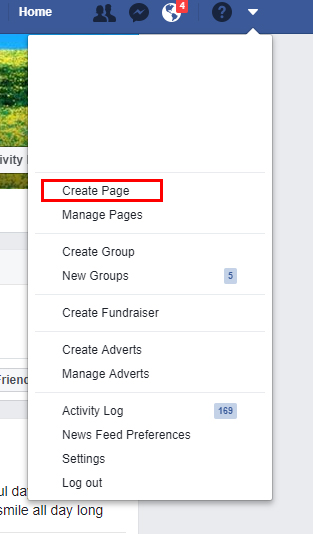
image via Facebook
Step 2 – Creating Your Facebook Business Page
- Start creating your Facebook business page by clicking on the arrow in the upper right-hand corner.
- Select Create Page
- Now choose Local Business or Place. Local Business or Place allows you to add a physical address and this is the best option for all floral businesses.
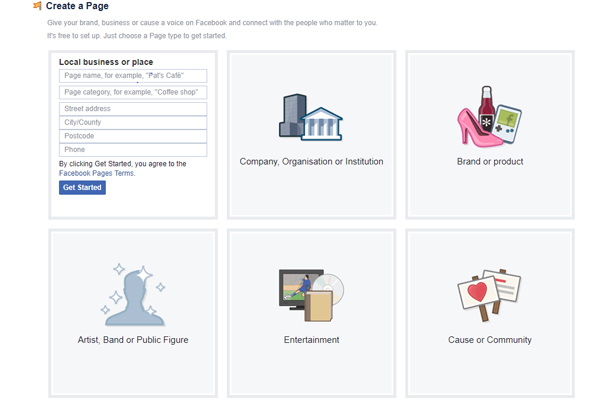
image via Facebook
- Enter your flower shop name, add categories (Flower Shop, Florist), address and phone.
Note: You may have a common business name and Facebook may ask you to add keywords in order to differentiate your Facebook business page name from another. Add your town or state as keywords or another floral based keyword such as flowers, flower shop or florist.
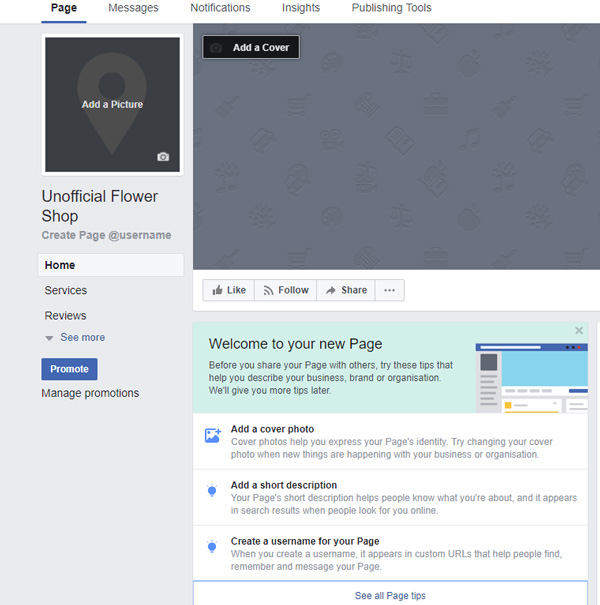
image via Facebook
Step 3 – Adding Your Floral Business Information
- Now comes the most time-consuming part of setting up a Facebook business page – adding in all your floral business information.
- Give your self-plenty of time to do this, grab a cup of coffee or tea as this is the bones of your Facebook page. These keywords will be indexed throughout search engines.
- Pay close attention to your username for your floral business page. It is a custom URL which will appear on search engines when searched for flower shop in city and state
- Add description and your website URL to the right where it says + Add Button
- Click on See all Page tips and add in all information required.
- Make sure to also click on the left-hand side under home and add all of your flower shop information there as well. Click on each category, you may not need to add information to all of these, but good to familiarize yourself with these pages:
- Home
- Services
- Reviews
- Shop
- Offers
- Photos
- Videos
- Posts
- Events
- About
- Community
- You may add a Post and even Promote your floral Facebook business page from the left side menu.
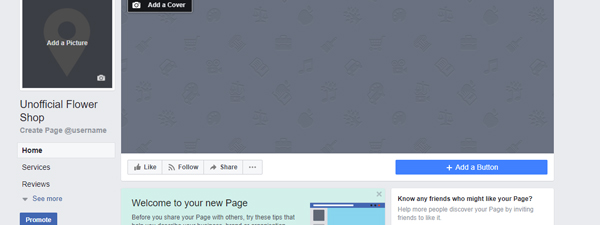
image via Facebook
Step 4 – Adding floral pictures & posts to Facebook business page
- Add a clear crisp profile picture. Your logo or picture of your work, such as flowers, is a great option.
- The cover photo should have a slight WOW factor and be true to the floral business. Crisp, clean and professional looking.
- Add a descriptive post to engage friends and always add an image to your post.
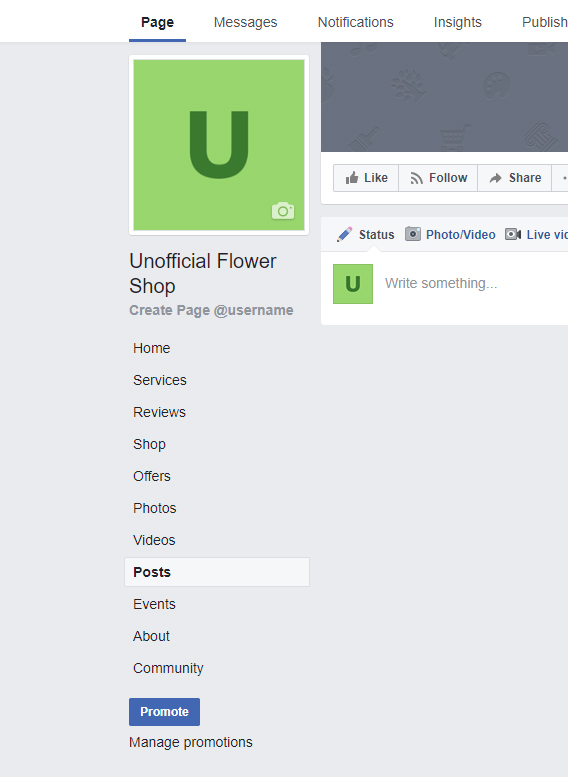
image via Facebook
Step 5 – Finalize your floral Facebook business page
- Make sure that you have your shop hours, services, address, and website link. These are important is getting maximin visibility for your floral brand.
- Invite your friends to like your floral Facebook business page.
- Add posts consistently on your Facebook business page and always add your website URL link to posts. Be engaging and do this on a daily or every other day. However, remember that a Facebook business page is now going to be part of your daily routine, checking it and posting once it is established.
- Be very responsive to notifications! Look at your top bar for any messages and notifications you may have revived. Facebook rewards responsiveness so be sure to Mark all as read
Facebook is by far the best option for creating visibility for your business. The best part of it is that creating a Facebook business page is that it’s FREE. Now that you have created a Facebook business page, you will see how quickly your floral brand grows across search engines.
Florists, how has your flower shop Facebook business page helped your business grow? Please share your feedback and questions in our comment section below.
____________

Floranext makes great florist software. Florist websites, floral POS, florist wedding/event proposal software, and florist technology. Let us know if you want a free demo or try our software for free here.
Thanks for one marvelous posting! I enjoyed reading it, you are a great Writer. Keep up the wonderful works on. I’ve added you to my blogroll as well.
Although we’ve had a FB page for many years, your points were a good refresher on things to stay on top of.
I have to ask Amos Goh, what’s a “blogroll”?