
Flowers speak a visual language in the natural world, communicating with colors and shapes.
Flowers also have meanings and connotations that we have devised for them. As a florist, you can take advantage of this beauty because people nowadays have become especially receptive to visual content. Given the rise of platforms like Instagram and Snapchat, making use of this high time for visual content is a no-brainer.
How do you take advantage of this, you ask? By creating visual content like pictures and videos! To do so, you can set up your space to be perfect for photo shoots. Today we will be discussing how to make the perfect DIY flower photo studio right at your shop, with little cost!
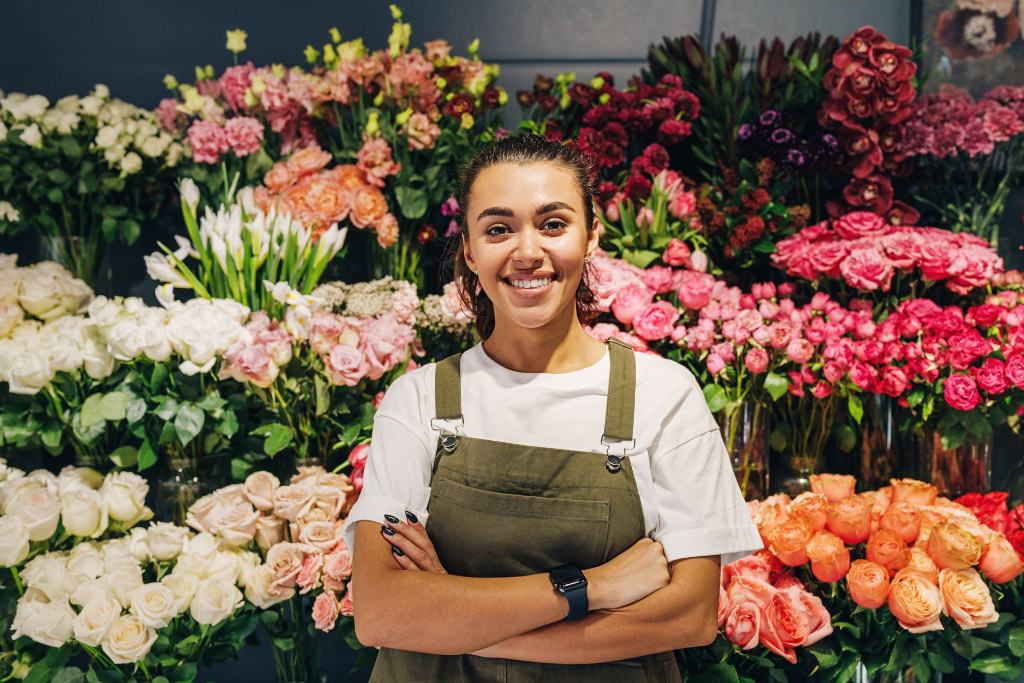
Image via Shutterstock
A DIY Photo Studio’s Physical Look
First and foremost, the most important thing we need for our DIY photo studio is the space. There should be some dedicated space around your shop for a photo studio. Consider the following:
Natural Lighting
In photography, nothing beats natural lighting in terms of its cost and effectiveness. Preferably, your photo studio should be near a large window, where you can have natural light from outside most part of the day. If natural lighting is hard to come by, then don’t fret, because artificial lighting will save the day (see below). But again, nothing can still beat natural lighting, so do your best to find a good space for this.
Space
This shouldn’t be that big an issue for florists; the largest single arrangement you may need to take a picture of is a wedding or funeral piece. However, your photo studio should still be spacious not just for the products but for your camera set-up. Give enough distance between your products and your camera, and for your artificial lighting rig.
Furniture
For the most part, you will only need a table (preferably circular) or a bouquet stand when you take pictures. A folding table is useful since it can be folded and tucked away when you need your space back. Keeping a chair around is a no-brainer, too.
Backdrops
If you happen to have a white wall in the space, then you probably don’t need any other backdrop—that’s more than enough for basic photography. If you want to get more creative with your flower shots, you can hand paint materials like a wooden board or canvas to make textured backdrops. With a bit of ingenuity, you should get fairly decent backdrops with that method.
Image via Shutterstock
After choosing your space, we will deal with lighting and how to manipulate it. As said before, natural light is by far the cheapest and cost-effective light source that you can have. With natural light, you can get by with only a white cloth or cardboard as light diffusers. However, if it cannot be helped, you can use artificial lighting.
Artificial light’s main advantage is your full control over them, but as a part-time flower photographer, this may not mean much to you. In photography, there are two types of artificial lighting: continuous and flash. Continuous (or constant) light sources are similar to natural light, and should be the most relevant type of artificial light for you. Flash light sources can be used in very niche situations, so you might not need to get one right away.
Even though artificial lighting sounds like it’s going to break the bank, with some creativity an ordinary desk lamp can go a long way for your flower photography. Any similar, or larger lamps can work for your set-up, too.
After deciding your lighting set-up, you should also get light modifiers in cases where your current set-up produces bad results. Some basic light modifiers are umbrellas, softboxes, and reflectors. In fact, in tight budgets, you could get by with just an umbrella and DIYing your softbox by covering a standing lamp with a white cotton or silk cloth. For reflectors, any material white and flat enough should work.
Studio Set-up
Now that we have our space, we need to set it up as a photo studio. As a quick rule of thumb, you should make sure to put your flowers or products near the light source to get as much even light as possible. Keeping this in mind, a good position to start with is having the table placed perpendicular to your light source, letting the light face the side of the product. Opposite the window and past the table is your reflector, to help distribute light evenly into the product. Put up your backdrop behind the table and your camera set-up in front. This should be your basic set-up for most cases.
Of course, you can freely change this set-up for specific scenes that you might to play with. Don’t hesitate to add more objects as you see fit, as much as your studio allows.
Image via Shutterstock
A DIY Flower Photographer’s Tools
As a florist-turned-DIY flower photographer, you might be thinking that you need to splurge hard for your tools, especially with the camera. However, for all intents and purposes that will be covered by your studio, smartphone cameras are actually decent enough.
With today’s camera technologies, smartphones can deliver DSLR-level images with little to no fuss. Of course, dedicated cameras will still be superior over these devices, but for someone like us, newbie photographers who may not know much about photography, a good eye for images is all we need with our smartphones to make it work. Not only is it cheap, it is also convenient.
If you really want to get into the dedicated camera route, and you are confident about learning photography tricks with it, we recommend getting cameras that allow manual settings for exposure and aperture—most cameras on the market should allow at least this much.
Aside from your camera, one crucial tool that you will need is the tripod. No matter what camera you use, stability is important in taking that perfect shot. You should get the appropriate tripod that you will need for your set-up, there’s no avoiding this.
Lastly, to finish off your photo studio, you will need your knowledge as a florist to make everything work. As a florist, you have a keen eye as to which flowers look best and how well these flowers will look. You should let your creative florist heart lead each photo shoot to make sure that you capture the flowers’ beauty in its entirety, and be able to enrapture potential customers.
As a budding flower photographer, you don’t need to start out with the professional tools to be able to put out quality content. With a little bit of creativity and ingenuity, you can get by with a small budget and deliver beautiful pictures that give the flowers justice in their images.
Florists, how are you taking photos of your arrangements now? Any plans to change your setup? Share your thoughts and ideas below!
____________

Floranext makes great florist software. Florist websites, floral POS, florist wedding/event proposal software, and florist technology. Let us know if you want a free demo or try our software for free here.
Thanks for sharing a good guidelines for a DIY floral photo studio setup. There may misconception that studio setup needs expensive studio equipment and lots of money. It’s not the truth. It’s all about photography knowledge and how creative you’re. Combining this quality you hope for a great outcome from your camera.
I agree with you Zubida. This kinds of photography a little bit rare…
This is very great opportunity to learn from you. Thanks for your all information.
Great ideas thanks!!